Introduction: Welcome to the World of Triangle Pose 🎉
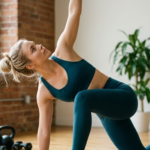
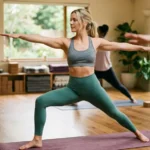
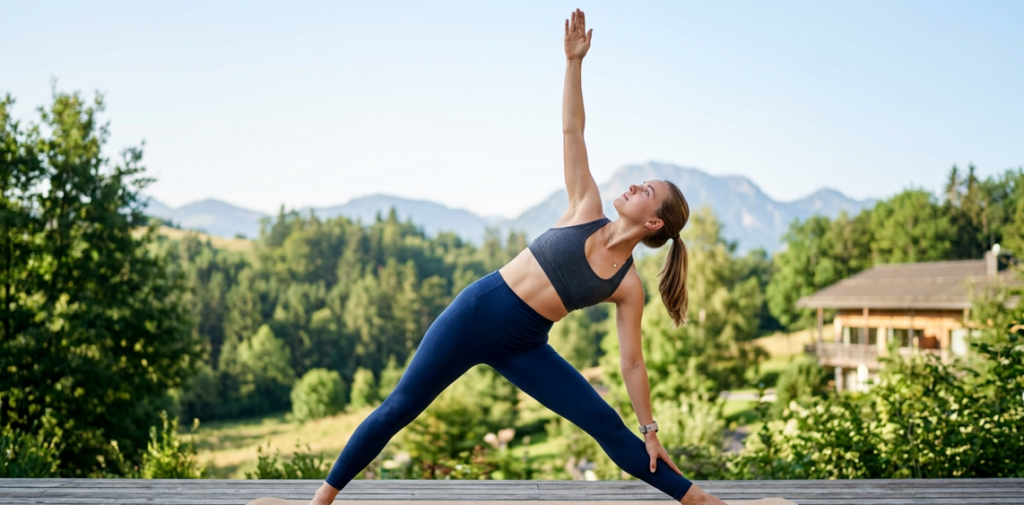
Welcome to the world of the triangle pose! 🎉 This isn’t just another stretch; it’s a full-body experience. Known in Sanskrit as Trikonasana (pronounced tree-koh-NAH-suh-nuh), this classic standing posture is a cornerstone of many yoga practices. The yoga triangle pose is an excellent way to build total body flexibility, stability, and mental focus. Whether you are a beginner or a seasoned yogi, the triangle pose in yoga offers a fantastic opportunity to lengthen your spine, open your hips, and feel a sense of grounded expansion.
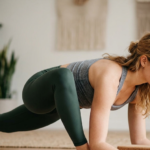
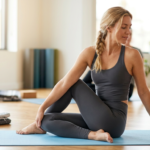
Think of it as a full-body reset button. If you’ve been sitting all day, this pose works to release tension in your back, shoulders, and hips, leaving you feeling tall, strong, and incredibly flexible. Mastering the triangle pose trikonasana requires proper preparation, and that’s where warm ups like the Cat-Cow stretch and standing side bend come in. These stretching exercises prepare your spine, side body, and hips for the deep lateral extension of the pose.
Key Benefits of Triangle Pose Yoga 🔥
Adding the triangle pose trikonasana to your routine brings a wealth of benefits. This isn’t just about touching your toes; it’s about holistic wellness.
-
🦵 Builds Strength and Stability: The triangle poses are fantastic for strengthening your legs, knees, and ankles. It activates your core and back muscles, helping you improve your overall balance and stability .
-
🤸♀️ Enhances Total Body Flexibility: This pose provides a deep, delicious stretch for your hamstrings, hips, groin, and spine. It also opens up your chest and shoulders, which is a game-changer if you spend hours hunched over a desk .
-
🧠 Improves Digestion and Focus: The lateral stretch gently massages your abdominal organs, which can stimulate digestion and relieve bloating . Plus, the focus required to hold the pose helps calm the mind and reduce stress.
-
💆♀️ Relieves Back Pain: By stretching and strengthening the spine, the triangle pose yoga can be incredibly effective at relieving mild back pain and sciatica .
Step-by-Step Instructions: How to Master Trikonasana 📝
Here is your guide to performing the triangle pose trikonasana safely and effectively. Follow these steps for a perfect practice.
1. Set Your Foundation (The Stance)
Stand tall at the top of your mat. Step your feet wide apart—about 3 to 4 feet (roughly the length of one of your legs) .
-
Turn your right foot out 90 degrees, so your toes point to the short edge of the mat.
-
Turn your left foot slightly in, about 10 to 15 degrees.
-
Align the center of your right heel with the arch of your left foot .
2. Get Ready (The Arms)
Inhale and lift your arms out to the sides, parallel to the floor, with palms facing down. Feel your shoulder blades drawing down your back to create space in your neck .
3. The Hinge and Reach (The Action)
Exhale and reach your torso to the right. Hinge at your hip (not your waist). Imagine sliding your right hip crease back as your torso moves forward over your right leg .
4. Find Your Expression (The Hand)
Lengthen your right arm forward and then lower it. Rest your right hand on your shin, ankle, or a block placed outside your foot. Avoid pressing on the knee joint .
-
Simultaneously, reach your left arm straight up towards the ceiling, creating a straight line from your left fingers to your right hand. Open your chest to the side .
5. Open, Breathe, and Hold
Press firmly through both feet. Gently lift your kneecaps to engage your thighs (keep a micro-bend to avoid locking). Keep both sides of your torso long.
-
Turn your head to gaze at your top thumb if it’s comfortable for your neck. Otherwise, look forward or down .
-
Hold for 5 to 8 deep breaths .
6. Rise and Repeat
Inhale, press through your feet, and use your core strength to rise back to standing with your arms extended. Lower your arms and repeat the triangle pose on the left side.
Modifications for All Levels ✨
-
Beginners: Use a yoga block! This brings the “floor” closer to you, allowing you to maintain a long spine and open chest without straining. Place the block outside your front foot . You can also practice with your back against a wall for stability .
-
Advanced: For a deeper stretch, try Revolved Triangle Pose (Parivrtta Trikonasana) to add a twist that challenges your balance and flexibility even more .
Safety Tricks & Common Mistakes to Avoid ⚠️
Let’s keep you safe while you enjoy the benefits of this incredible posture.
Common Mistakes (and How to Fix Them) 🔧
-
Mistake 1: Rounding the Spine. Fix: Imagine you are between two panes of glass; focus on keeping your chest open and your spine long, rather than collapsing forward to touch the floor .
-
Mistake 2: Letting the Hips Tilt Forward. Fix: Engage your glutes and core to keep your hips squared to the mat. Don’t let your front hip jut forward .
-
Mistake 3: Bending the Waist Instead of Hinging at the Hip. Fix: Initiate the movement by pushing your hips back, like you’re closing a car door with your butt, before lengthening your torso over the leg .
-
Mistake 4: Pushing Hard on the Lower Knee. Fix: Your hand should rest lightly on the shin, ankle, or a block. Never press directly on the kneecap .
Safety Tricks for a Safe Practice
-
Protect Your Neck: If you have neck issues, look forward or down instead of up .
-
Use Props: Don’t shy away from using a block. It’s a sign of wisdom, not weakness, and helps maintain proper alignment.
-
Balance with Counterposes: To ensure joint health, balance your practice with Revolved Triangle Pose to avoid creating an imbalance in the knee joint .
-
Avoid if Necessary: Avoid this pose if you have severe back pain, a migraine, diarrhea, or a hernia .
Quick Reference Table 📊
| Muscle Groups Worked | Difficulty Level |
|---|---|
| Legs: Hamstrings, Quadriceps, Calves, Glutes | Beginner to Intermediate |
| Core: Obliques, Psoas, Rectus Abdominis | It’s accessible for beginners while offering depth for advanced practitioners. |
| Upper Body: Chest, Shoulders, Serratus Anterior | The challenge lies in maintaining proper alignment and balance. |
FAQs
Q1: Should my bottom hand touch the floor in Triangle Pose?
A: No! The goal is to keep your spine long and chest open. If touching the floor compromises your alignment, rest your hand on a block, your shin, or your ankle .
Q2: Why does my neck hurt when I look up?
A: Looking up requires neck rotation while the head is tilted. This can cause compression. Simply look forward or down to keep your neck safe and comfortable .
Q3: What’s the difference between Triangle Pose and Extended Side Angle Pose?
A: In Triangle Pose, both legs are straight, creating a deep hamstring stretch. In Extended Side Angle Pose, the front knee is bent at 90 degrees, shifting the focus to a deeper hip and groin opening .
Q4: How often should I practice Triangle Pose?
A: You can practice it daily! It’s a great addition to any routine to improve your flexibility, build strength, and cultivate balance.
Q5: Is Triangle Pose good for weight loss?
A: While not a cardio exercise, the pose stimulates digestion, improves metabolism, and can help reduce stress eating, making it a supportive part of a weight management routine
Quick Tip 💡
For better alignment, think of spreading your mat like a wall. Keep your torso moving in a “sideways” motion, as if sliding along an invisible wall. This will help you maintain length and avoid bending forward, ensuring you get the most out of your triangle pose practice.